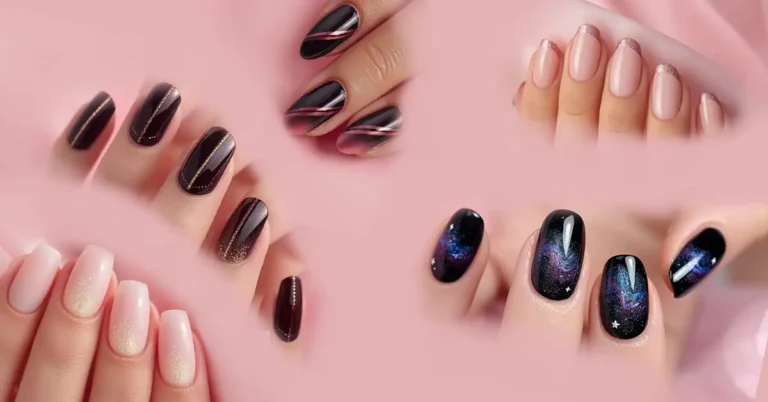
Achieving proper nail polish application requires more than just nail decoration. The proper application requires sequential steps that produce smooth results that last longer. A perfect manicure outcome depends on your preparation work and perfect application of the polish, followed by its proper sealing. Your nails transform into a clean, professional, and beautiful appearance after proper application.
Every person has experienced imperfect manicures marked by uneven polish and visible smudges. Your nail polish either developed chips right after application or it failed to create a smooth appearance. A home-based solution exists that solves the issue easily. The proper method combined with some waiting time will help you achieve the results you want.
This guide will show you exactly how to apply nail polish properly for a flawless finish. The instructions you will learn create substantial improvements to your manicure results. The method works for beginners along with people who want to achieve improved results. The information you just read will help you improve your nail skills, so continue reading.
Why Proper Nail Polish Application Matters
Applying your nail polish correctly shapes both your manicure aesthetics and the overall duration of your polish staying on your nails. A correct application of different nail polishes results in a smooth way and even drying while preventing chips. This application method serves to protect your nails as well as create a neat, professional appearance.
Benefits of a Flawless Finish
A perfect nail polish application enhances both your physical appearance and your self-assurance. The extended durability of this product cuts down your time spent doing touch-ups while saving your energy. Some key benefits include
- Professional-looking results at home
- Reduced chances of chipping or peeling
- Smooth, even color that enhances your style
Tools for perfect Application
Perfect nail polish application depends on selecting appropriate tools. You require nail polish remover and cotton pads together with a nail file and buffer and cuticle pusher and clippers to prepare your nails. The finishing routine includes three main components: you need a base coat followed by the selected nail polish and the application of a topcoat for long-lasting sparkle.
Steps for Proper Application
For proper application, you should apply these simple steps.
File and Shape Nails
Begin your manicure by cutting your nails to the preferred length before filing their edges smooth. Smooth the nail edges using a nail file. Buff the nail surface to even out any ridges. A smooth foundation forms after completing these steps for polish application.
Clean and Prep Nails
The first step involves using a remover to eliminate all traces of nail polish while using cotton pads. Handwashing removes both hand oils and dust particles. Move to the following step only after your nails become totally dry. The application of polish becomes more durable when nails remain clean since it creates better adhesion.
Care for the Cuticles
You should use a cuticle pusher to slowly move your cuticles away from your nails. If needed, trim any excess cuticle skin with clippers. Be careful not to overdo it. Your nails benefit from protective cuticles because they shield the nails and stop possible infections.
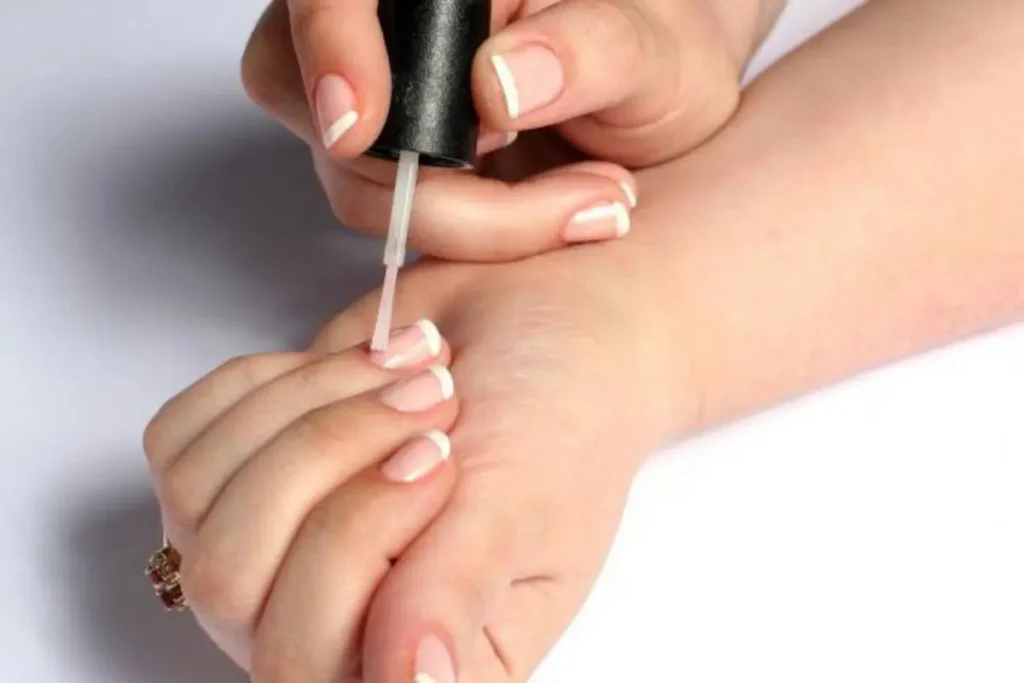
Apply a Base Coat
Use a base coat that is thin enough to cover each nail. Your natural nails stay protected by this step, which allows the polish color to distribute perfectly. The base coat needs one or two minutes to dry before proceeding. Your nails remain stain-free while the application lasts longer with a quality base coat.
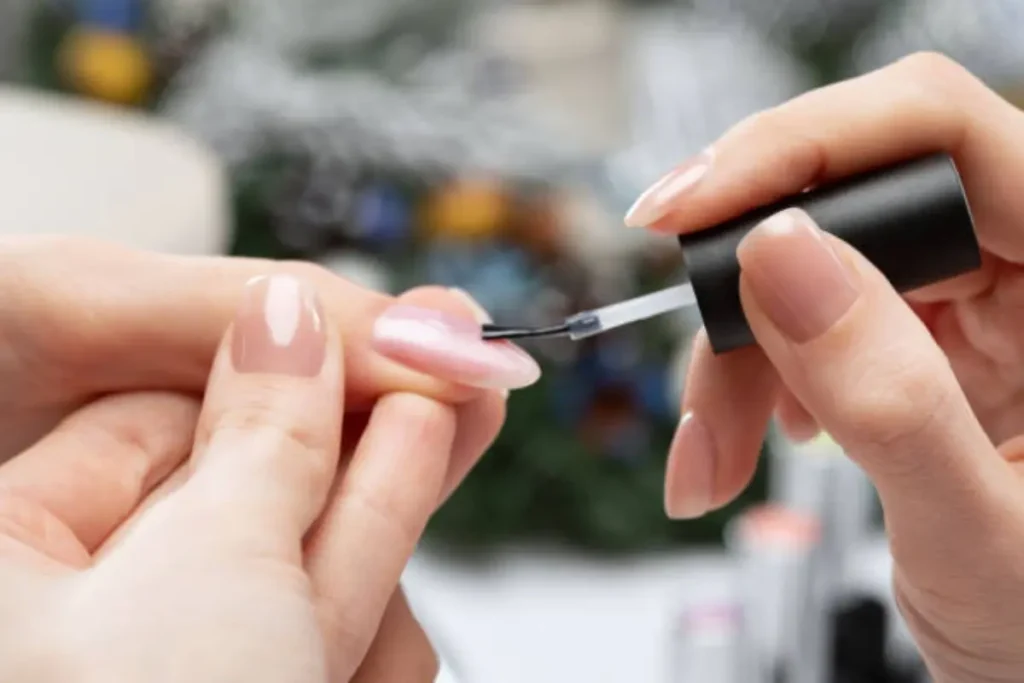
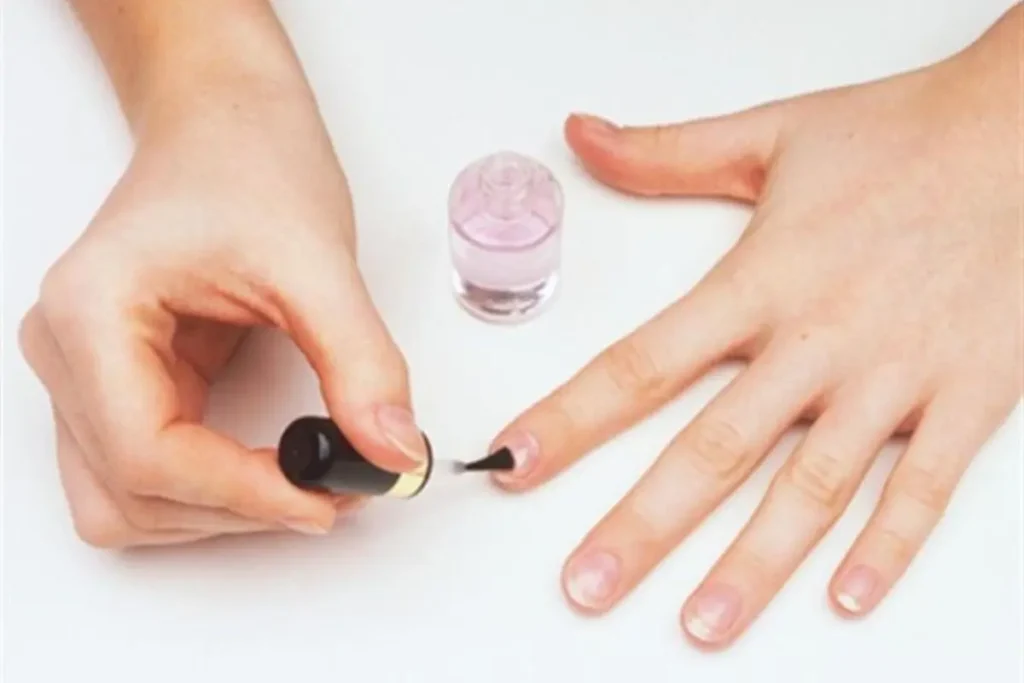
Apply the First Coat of Polish
Remove extra polish from the brush before applying it to your nails. Begin by applying the base coat with the 3-stroke technique, starting from the middle and moving toward the left and right sides. The thin appearance of the polish is normal at this point. The polish needs complete drying time before adding another coat.
Apply the Second Coat of Polish
Recreate the first coat application method for a second coat application. The additional coat will make the color more intense and create a smoother finish. Be patient during application to prevent streaks from forming. The drying process should be complete to achieve optimal results.
Apply a Quick-Drying Top Coat
Apply a quick-drying top coat as your final step. The top layer will protect your nail polish while creating a shiny final appearance. The application of topcoat shields your nails from both chips and smudges. The fresh appearance of your manicure will extend its lifetime.
Tips for a Long-Lasting Manicure
The longevity of your manicure depends on following these additional steps, which will significantly improve its appearance. Try these simple tips:
- Avoid hot water for the first few hours after polishing to prevent smudging.
- Reapply a top coat every few days to maintain shine and protect from chips.
- Wear gloves when doing chores like washing dishes or cleaning to avoid damage.
FAQs
What is the proper way to apply nail polish?
The first step requires proper nail trimming before starting proper nail polish application procedures. Start by applying a base coat followed by two thin layers of polish, which require drying time between each layer application. The final step of manicure completion requires applying a top coat to protect your nails and enhance their shine.
What is the sequence of nail polish application?
The process of nail polish application begins with one base coat followed by two layers of colored polish before ending with one top coat, which provides longevity and gloss.
What is the best nail polish for weak nails?
When searching for the ideal nail polish for weak nails, it should both protect and strengthen them. Search for nail polish products containing keratin, biotin, or calcium among their ingredients. A strengthening base coat functions to stop both nail peeling and breakage.
How to apply glitter nail polish?
Apply the base coat first, then allow it to dry completely before proceeding. Dab the glitter polish onto your nails to achieve uniform coverage. Apply a clear topcoat for sealing and smoothing the glitter as your final step.
How will I know when my nail polish is dry?
The nail polish enters a dry polish state when it reaches a smooth, touchable condition without stickiness. To check dryness, you should gently tap your nails together to verify that they do not adhere. You need to wait for 15 to 20 minutes before you can use your hands to their full extent.
Conclusion
A proper order of steps enables users to apply nail polish successfully. You should start by using a base coat on nails that are dry and free from dust. Each coat of polish should be thin because the drying time between coats requires patience until the next layer goes on. The last step should include applying a top coat to protect the color while also improving shine.
Perfect nail finishes will become available if you give yourself enough practice while being patient. The application of nail polish should be slow to prevent nail marks and streaks. Both nail care practices and premium products play a crucial role in determining the final look of manicures. Enjoy your beautiful, long-lasting manicure!