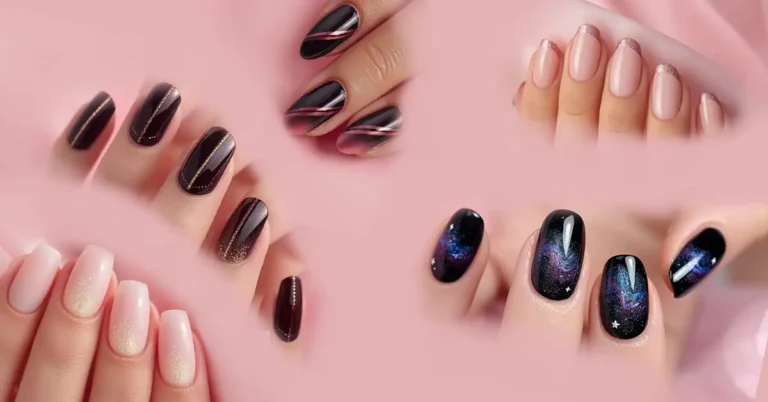
Acrylate nail polish functions as a long-lasting manicure product by using acrylic compounds which form strong bonds to the nail surface. The product finds its main application in gel and shellac manicures and delivers both strong durability and high gloss appearance. Acrylate formulas require UV or LED light curing to achieve their strong durability against wear and chips.
Your polish durability suffers from chipping within just a few days of application. The growing popularity of acrylate nail polish proves that people want professional manicure quality they can achieve in their homes. The necessary tools combined with basic understanding make this process accessible to beginners. The best part? Anyone can achieve perfect results with this technique.
This guide provides all necessary information to use acrylate nail polish at home without professional assistance. This guide will provide you with all the essential information about supplies and mistake prevention. This guide serves as your essential reference for DIY nail enthusiasts at any experience level. You can now achieve professional-quality nails right from your home environment. Let’s dive in.
What Is Acrylate Nail Polish?
Acrylate nail polish exists as a nail product that contains acrylate polymers as its main ingredients. Acrylate polymers function as adhesives which improve the polish’s durability. The polymers appear mainly in gel and long-wear nail polish formulations. Some individuals experience allergic reactions to acrylate chemicals.
What Makes It Different from Regular Polish
The product provides extended shine retention through its special formulation. Regular polish has no match against this product since it stays resistant to fading and chipping. The product dries at a quicker rate and produces a polished and trendy shade. The formula combines protective features with fresh nail appearance.
Benefits of Acrylate Formulas
Acrylate formulations deliver superior functional capabilities across different applications. Their bonding power and flexibility performance remains high. Key benefits include:
- Durability: Resistant to weather, UV rays, and chemicals
- Versatility: Suitable for coatings, adhesives, and sealants
- Clarity: Often used in transparent and glossy finishe.
These qualities make acrylates a popular choice across industries.
Are any Nail Polishes Acrylate free?
Most nail polishes contain acrylates. The chemicals in these products enable the polish to adhere and maintain its durability. Some brand companies provide nail polish products that do not contain acrylates. Check for acrylate-free or sensitive-skin specific nail polish labels when making your selection.
Is Acrylate Nail Polish Safe to Use at Home?
Acrylate nail polish presents a safe home usage option when proper handling techniques are followed. Some individuals develop allergic reactions after using this product. Use the product only in areas with proper ventilation while also keeping your skin away from direct contact. Discontinue use of the product and seek medical advice when irritation develops.
Common Ingredients in Acrylate nail polish
People should pay attention to three main ingredients in their food products: artificial colors, preservatives and added sugars. These substances have the potential to create health problems throughout your lifespan. Various products contain food allergens that include nuts together with dairy products and gluten. Check product labels for all information before purchasing or applying any product.
Potential Allergies and Skin Sensitivities
Several skincare products can create allergic reactions and skin sensitivities. A patch test must always be conducted before using the product completely. Discontinue use if you experience:
- Redness
- Itching
- Swelling
- Burning sensation
Consult a dermatologist if irritation persists.
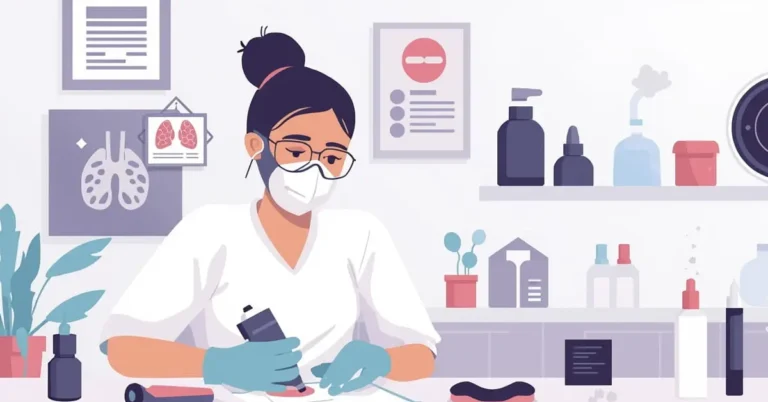
Safety Tips for Home Application
The following safety guidelines exist for operating home appliances:
- The first step to appliance usage is always to read the user manual.
- Always disconnect appliances from power outlets when they remain unused to avoid electrical dangers.
- All appliances must stay away from water to prevent electrical shock.
- It is essential to inspect both cords and plugs for signs of damage on a regular basis.
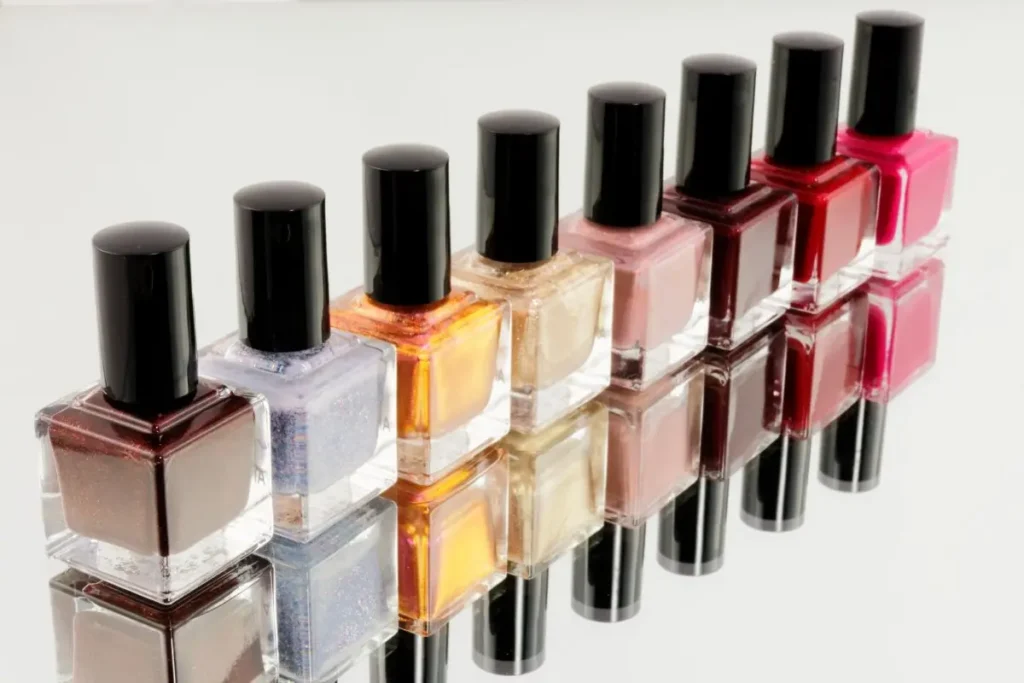
What You’ll Need Before You Start
Before you start, gather everything you need in one place. This will save time and help you stay focused. Use a Tools and Supplies Checklist to keep track of items like basic tools, safety gear, and materials. For beginners, we recommend to use trusted brands.
Step-by-Step Guide to Applying Acrylate Nail Polish
For beginners it is recommended to follow the following steps to apply acrylate nail polish.
Clean and Prep Your Nails
Wash your hands first with soap and water. Use gentle nail polish remover to eliminate existing nail polish from your fingers. Trim your nails before filing them to your chosen shape. Use your fingers to push back your cuticles before using a buffer to smooth the nail surface.
Apply a Base Coat
Begin base coat application by using clean dry nails. Use a thin and uniform base coat layer to cover all surfaces of each nail. Keep polish away from your skin by applying your brush near the nail edges. Base coat requires complete drying time before you advance to the following step. The base coat serves two functions: it protects your nails and extends the life of your manicure.
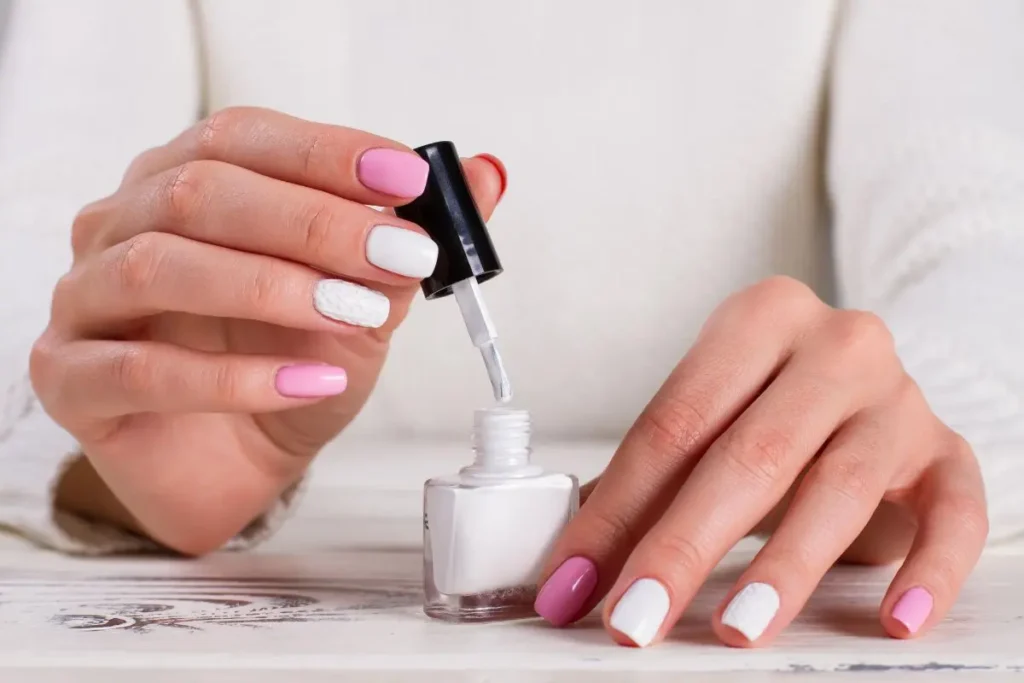
Apply the Acrylate Nail Polish
The process of applying acrylate nail polish begins with preparing your nails by cleaning them and shaping their edges. Start by applying a thin layer of base coat which needs to dry completely. Apply two delicate layers of acrylate polish one after the other while waiting for each layer to dry fully. Apply a top coat to provide shine and durability after completing the process.
Cure Under UV/LED Lamp
Nail polish containing acrylate requires UV or LED lamp curing to reach its final state. Set your nails under the lamp for the duration of time specified on the polish bottle. UV lamps require 2-3 minutes for curing but LED lamps achieve the same result in 30-60 seconds. Apply the next layer only after complete curing of the previous one to achieve durable results.
Apply Top Coat and Final Cure
Place a thin layer of top coat to protect the color while adding shine. Finish the application by coating the entire nail surface including the edges. Follow the product instructions to cure your nails under a UV/LED lamp for the time specified. Using top coat during the process protects your manicure while also making it last for an extended period.
Common Mistakes to Avoid
Acrylate nail polish develops brittleness and peeling when users cure it either too fast or too slow. Too thick application of layers will result in uneven drying and bubbling formation. The omission of nail preparation steps such as cleaning and buffing leads to both reduced polish durability and shorter wear time. You should carefully follow all provided instructions to achieve optimal outcomes.
Tips for Long-Lasting Results

Beginners should know how to apply nail polish properly for a flawless long-lastion result.
Nail Care Before and After Application
Begin all nail treatments by using nails that are free from dirt and completely dry. You should use your fingers to gently push back your cuticles while using a soft buffer to smooth the nail surface for better nail polish adhesion. Water exposure should be avoided for minimum one hour after application.
How to Prevent Chipping or Lifting
The prevention of chipping or lifting requires you to use thin and even layers while covering the exposed nail edges. The application of your nails as tools should be avoided since this puts strain on your polish.
Maintenance Tips
Regular application of top coat serves as a protective seal for the polish by applying it every few days. Daily moisturization of the cuticles helps maintain nail health while stopping the nails from peeling.Beginners should apply thin coats when using acrylate nail polish at home while working slowly for a polished result.
FAQs
Does nail polish contain acrylate?
Acrylates serve a dual purpose in the nail industry and HONA by appearing in quick-dry gel polishes and extension nail adhesives because of their quick bonding properties.
Is acrylate harmful?
The main source of ethyl acrylate exposure occurs in work environments. Reports indicate that workers who experience short-term ethyl acrylate vapor exposure develop symptoms including drowsiness, lethargy, headache, nausea, convulsions and respiratory and gastrointestinal irritation.
Is acrylates copolymer safe in nail polish?
Acrylate copolymer appears to be a safe ingredient based on my current understanding. Acrylate gels contain monomers which present their main drawback. Copolymers achieve stability through their polymerization process (which occurs after polymerization) and become larger structures. Acrylate copolymer is applied at concentrations too low to trigger allergic reactions.
Is acrylate safe for skin?
The polymers Carbomer and Sodium polyacrylate appear frequently in cosmetic products and demonstrate safety for typical consumers. It is best to exercise caution when using products containing acrylates if you already know you are sensitive to them.
Is acrylate in nail glue?
The cosmetic nail preparations contain acrylates which originate from acrylic acid. Artificial nail and eyelash application depends on ethyl acrylate functioning as an adhesive. Ethyl methacrylate along with methyl methacrylate enables sculptured artificial nails to form a bond with natural nail plates.
Conclusion
Mastering acrylate nail polish at home is easy with the right techniques. By following proper nail prep, thin application, and regular maintenance, you can achieve salon-like results. Patience and practice will help you improve over time. Remember, small steps lead to long-lasting, beautiful nails.
Don’t be discouraged by minor mistakes—every beginner faces them. The key is to learn and refine your method with each application. With consistency, you’ll gain confidence and perfect your at-home manicures. Enjoy the process and have fun experimenting with colors and styles!